


The Art of Customization: A Comprehensive Guide to Rigid Paper Boxes
In the world of packaging, first impressions are everything. While a product’s quality determines its longevity in a customer’s life, the packaging determines whether the customer will even give the product a chance. Among the various packaging options available, rigid paper boxes (often referred to as set-up boxes) stand as the pinnacle of luxury, durability, and perceived value. Unlike folding cartons that are shipped flat, rigid boxes are pre-formed and made of thick paperboard, offering superior protection and a premium unboxing experience.
Customizing these boxes is a meticulous process that blends material science, engineering, and graphic design. Whether you are launching a high-end cosmetic line, a tech gadget, or a luxury gift, understanding the process of customization is essential to ensuring your product stands out. Here is a step-by-step guide to how hard paper boxes are customized.
1. Defining the Structure and Dimensions
The first step in customization is structural design. Rigid boxes are defined by their construction: a rigid board (typically 1.5mm to 3mm thick) wrapped in printed or textured paper. The customization begins with the shape and style.
Manufacturers typically offer several style options:
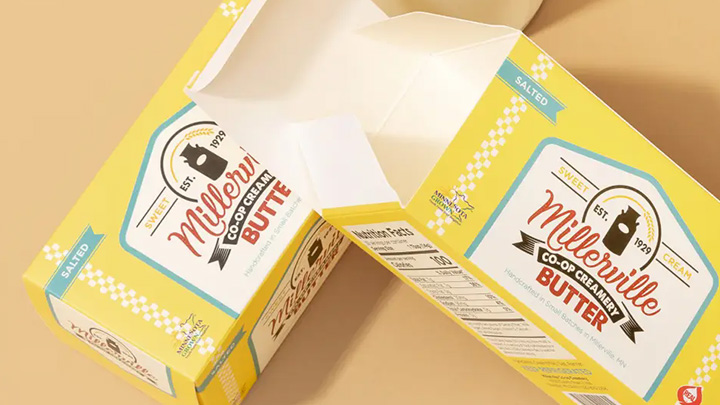
- Lid and Base (or Telescopic): The most common style, consisting of a separate lid that fits over a base. The height of the lid and base can be adjusted to create different looks, such as a "low lid" for a modern aesthetic or a "full-wrap" lid for a jewelry box feel.
- Book-style (or Clamshell): A hinged box that opens like a hardcover book. This is highly popular for electronics, portfolios, and special edition items because it allows for a flat display surface inside.
- Shoulder Neck: This style features an internal "neck" or platform inside the base, creating a recessed display area that lifts the product out of the box when opened.
- Drawer Box: A sleeve with a sliding inner tray. This style offers excellent tactile interaction and is often used for heavier items like watches or culinary tools.
At this stage, the customizer must provide precise internal dimensions to ensure the product fits snugly, accounting for any foam inserts, silk padding, or vacuum-formed plastic trays that will hold the product in place.
2. Selecting the Materials
The "hard" part of the box is typically made from grey board (chipboard), which is chosen based on thickness. However, the customization truly shines in the wrapping materials. The outer layer defines the tactile experience and visual appeal.
Common material choices include:
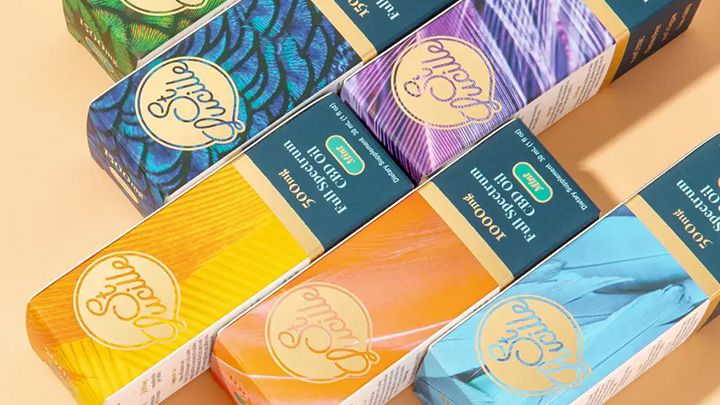
- Art Paper with Lamination: Standard for high-end printing. The paper is printed with the brand's artwork and then laminated with gloss (for vibrant colors), matte (for a soft, sophisticated feel), or soft-touch (velvety) finishes.
- Textured Papers: For a luxurious feel, brands often opt for uncoated specialty papers such as linen, leatherette, silk, or even recycled kraft paper with embossing.
- Foil and Fabric: In ultra-premium segments (e.g., jewelry or luxury spirits), the box may be wrapped in real fabric, leather, or covered entirely in metallic foil stamping.
3. Printing and Surface Finishing
Once the material is selected, the visual branding is applied. Customization here involves a combination of printing techniques and finishing processes.
- Printing: Offset printing is the standard for high-quality, consistent results on large runs. For small batches or highly specific color matching (like Pantone colors), digital or screen printing may be used.
- Hot Stamping (Foil Stamping): This process uses heat and pressure to apply a metallic foil (gold, silver, rose gold, or holographic) to the surface. It is ideal for logos, creating a high-end contrast against a matte background.
- Embossing and Debossing: This creates a three-dimensional relief. Embossing raises the logo or design above the surface; debossing stamps it down. This technique adds a tactile dimension that makes the packaging feel substantial.
- UV Spot Coating: A glossy coating applied to specific areas (like a logo or a pattern) to make it pop against a matte background.
4. Internal Finishing and Inserts
A rigid box is not just an exterior shell; the interior experience is just as critical. Customizing the interior involves choosing the material for the lining (usually the same as the outer wrap or a contrasting velvet/velour) and constructing the insert.
The insert serves two purposes: protection and presentation. Options include:
- Foam with Fabric Lamination: High-density foam is cut precisely to the shape of the product (via CNC machining) and wrapped in velvet, felt, or satin. This creates a "nest" that cradles the product.
- Molded Pulp or Plastic: For eco-friendly brands, molded pulp trays are popular. For complex shapes, vacuum-formed plastic (PET or ABS) is used to hold the product securely during transit.
5. The Customization Process: From Prototype to Production
No custom rigid box is made without a prototyping phase. Before mass production, reputable manufacturers create a physical sample or a "pre-production prototype."
- Die-Making: Steel cutting dies are created to cut the grey board and wrapping paper into the exact shape required for the specific box style.
- Wrapping: Unlike folding cartons, rigid boxes are largely assembled by hand or with semi-automatic machinery. Skilled workers wrap the printed/laminated paper around the grey board, folding the edges meticulously to ensure clean corners.
- Approval: The client reviews the prototype to check the color accuracy (Pantone matching), the tightness of the lid fit, the alignment of the embossing, and the quality of the insert. Once approved, the manufacturer proceeds to full-scale production, which usually has a Minimum Order Quantity (MOQ) ranging from 500 to 5,000 units, depending on the complexity.
Conclusion
Customizing a rigid paper box is an investment in brand perception. It requires a clear understanding of structural engineering to protect the product, material science to deliver the right tactile feel, and graphic design to communicate the brand story. By carefully navigating the choices of style, materials, printing techniques, and internal inserts, businesses can create a packaging solution that not only safeguards the product but transforms the act of opening it into an unforgettable experience. In a competitive retail environment, that experience is often what turns a one-time buyer into a loyal brand advocate.